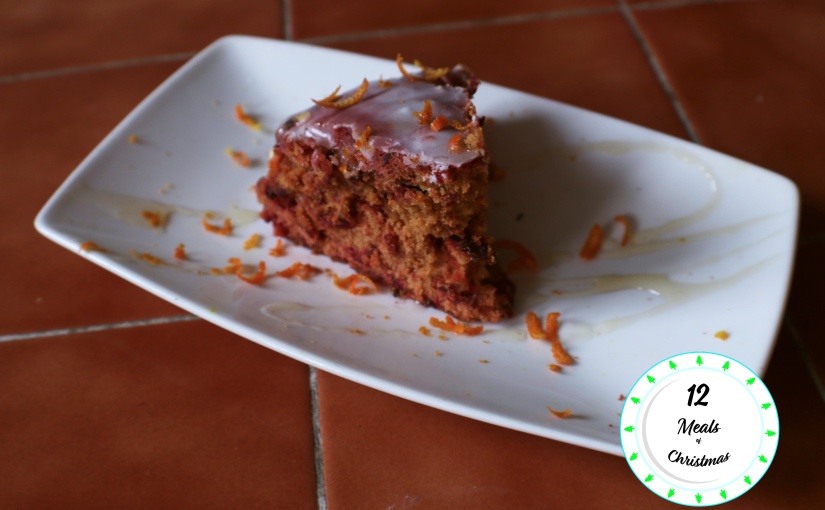
To celebrate Christmas, I’ve launched a brand new blog series covering the twelve days of Christmas with the 12 Meals of Christmas. Each day you’ll be getting an exciting christmassy recipe to help you save money and your belly for the big day.
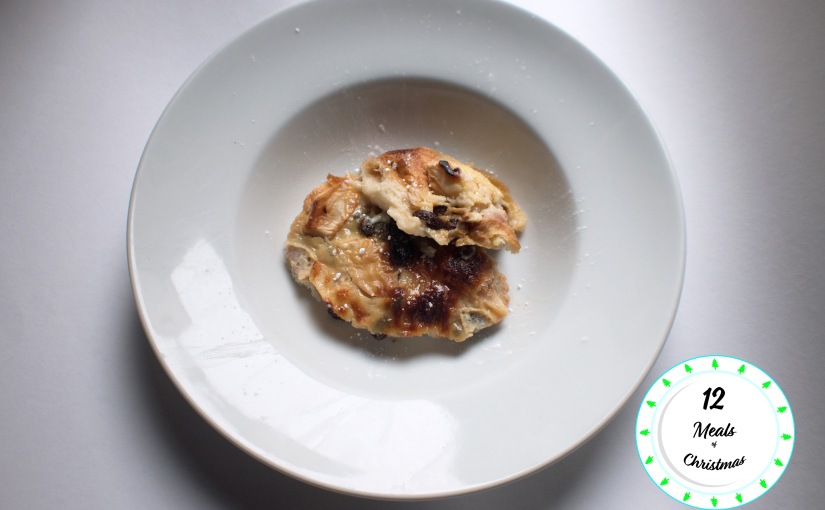
We’ve saved the best until last. The mighty croissant and apple butter pudding.
What separates this from a normal bread and butter pudding? The buttery croissants and apple pieces create a soft, sweet texture and flavour that will have you coming back for more. Additionally, this dessert can be enjoyed for breakfast throughout this festive weekend and it doesn’t cost the earth.
Before we get down to the recipe, I want to say a huge thank you to all of you who’ve read and supported the 12 Meals of Christmas. I have some ideas in the pipeline for 2018 that I think you’ll enjoy, but for now – grab yourself some croissants and have a go at making this beautiful dessert. I promise you, you will not be disappointed.
Croissant, Apple and Butter Pudding (Serves 4)
Four croissants, cut in half
75g of raisins
Two apples, peeled cored and sliced
400ml of milk
200ml of water
Three eggs
70g of caster sugar
Three heaped tablespoons of cornflour
A teaspoon of vanilla essence
A teaspoon of cinnamon
A sprinkling of caster sugar
Turn the oven to Gas Mark 5/180C. Into a saucepan on a medium heat, pour in your milk and water. Crack in your eggs, then begin to whisk the ingredients together. As you do so, drop in your vanilla essence, caster sugar and the three tablespoons of cornflour. Whilst you whisk, make sure that the ingredients aren’t sticking to the bottom of the pan. Once the custard begins to thicken to a consistency similar to single cream, remove it from the heat and start work on the croissants.
Taking an ovenproof dish, arrange your croissant pieces inside. Layer over your apple pieces, cinnamon and raisins before pouring over the custard. Finish this stage by scattering over a little caster sugar before popping in the pudding for the exciting part of the recipe.
Bake the pudding for around 35 minutes, or until the top is golden and the croissants have soaked up a good deal of the custard. Serve immediately with fresh cream for a delicious treat whatever the time of day. You can also keep a supply of pudding throughout the christmas period by storing it in an airtight container in the fridge for up to 3 days.
That’s a wrap for the 12 Meals of Christmas! If you enjoyed this recipe, I’d love to hear from you. Drop me a comment below!
Don’t forget to follow me on Twitter and Instagram to look back at all of the recipes featured.